Austin Hat Pattern (free pattern)

DISCLOSURE
This page may contain affiliate links. Working with affiliates helps me cover the costs of running a website and providing free content for all you awesome people. If you make a purchase on my website, it is possible that a small percentage of the sale will go directly to me (at no additional cost to you). All opinions remain my own.
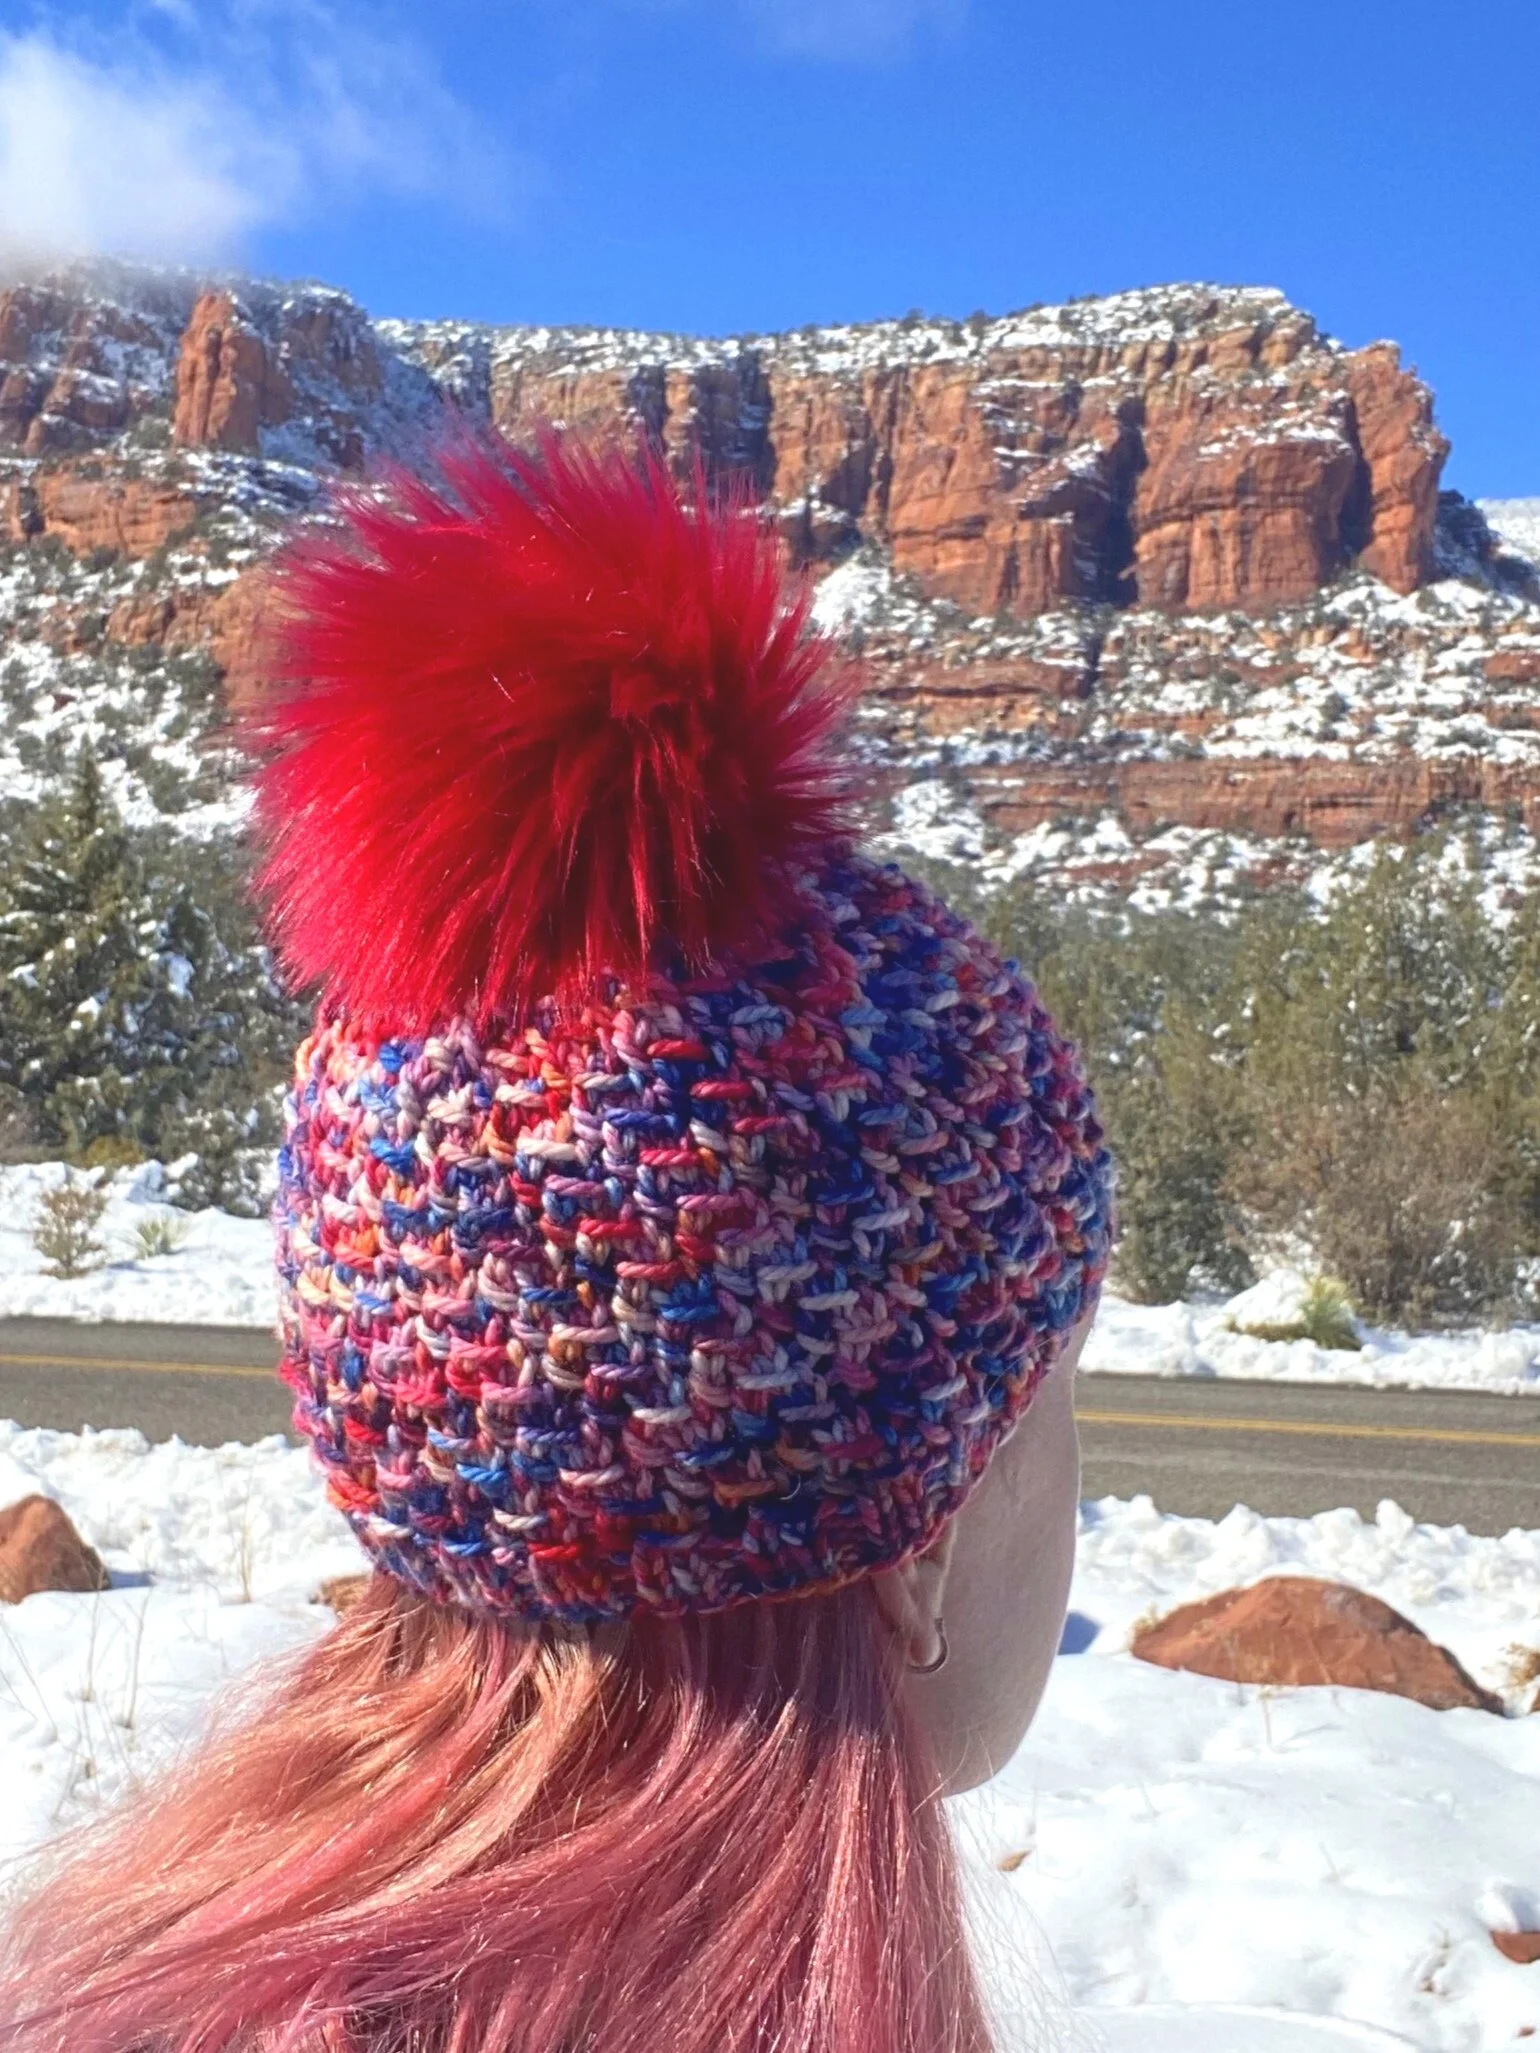
Unisex cabled hat perfect for any aged noggin
The Austin Hat works solid cables over a secondary background color in the most elegant way.
December 1, 2020
It isn’t a secret that I love cables. It also is no secret that I love playing with complementary colors. The Austin Hat was designed to work some easy cables and also allow those cables to pop by knitting them over a background of an alternate colorway.
In late 2019, I spent some time in Austin visiting friends and seeing the sights. The weather was beautiful during the day, but just a tad chilly in the evenings. I wanted a hat that I could throw on in the evenings when the sun went down. After digging through my stash, I came across these two colors of Malabrigo Arroyo and loved how they complemented each other. In truth, I don’t remember what I originally bought the yarn for, but now it was destined to become a hat.
As I designed and knitted the first one, I weighed the yarn and realized that if I reversed the MC and CC, then I could make two hats from two skeins of yarn, which always makes me happy! So after whipping up the first one, I immediately cast on and worked the second, reversing the colorways.
Upon finishing the second hat, I decided that I preferred the solid colorway as the MC and keeping the busier (variegated) colorway as the CC and backdrop to really let that solid color show. But I also think that two solid colors would work nicely and give the hat a different look. I’ll have to add that idea to my knitting list and give it a try sometime!
Have fun with your color choices. Keep in mind that the colors need to be contrasting enough to allow those cable details to pop, but you really can’t go wrong with your color choices. Enjoy the Austin Hat pattern and be sure and tag @knitsyknits and #explorewithknitsy to show off your creation; I’d love to see what colors you chose!

AUSTIN Hat Pattern
The capital city of Texas, Austin was originally called “Waterloo.” The name was changed in 1839 in honor of Stephen F. Austin who was the republic’s first secretary of state. The capital building located in this city is the largest state capital in the US. On October 14, 1974, the world famous TV show “Austin City Limits” premiered with Willie Nelson as the featured performer.
MATERIALS
Yarn
Malabrigo “Arroyo”
335 yards/305 meters; Worsted
100% Superwash Merino Wool
1 skein each of two colors (all sizes)
Colorway One: Azul Profundo (MC) and Camaleon (CC)
Colorway Two: Camaleon (MC) and Azul Profundo (CC)
(You can make two hats out of two skeins of yarn by reversing which color you use as MC and CC in the second hat.)
Instagram: @malabrigoyarn
Needles
US 4/3.5 mm 16” circular needle
US 5/3.75 mm 16” circular needle
US 5/3.75 mm DPNs, second circular, OR 40” circular needle for magic loop
Notions
Cable Needle
Stitch Marker
Scissors
Tapestry Needle
Gauge
24 sts and 34 rows = 4 in/10 cm in stockinette stitch
30 sts and 60 rows = 4 in/10 cm in stitch pattern
(both gauges taken on larger needle)
Finished Measurements
To fit head circumference: 20 (22, 24) in / 51 (56, 61) cm
Notes
Always slip stitches purlwise with yarn in the back.
Pattern is a multiple of 18. You can make your hat larger or smaller by adding or subtracting multiples of 18.
When you get to the decrease section and the stitches begin to become tight around your needle, switch to your preferred method of working in the round: DPNs, two circular needles, or magic loop.
Abbreviations
*. . .* - repeat between asterisks
bor – beginning of rnd
C3L – place next 2 sts on cn and hold to front, K1, K2 sts off cn
C5L – place next 3 sts on cn and hold to front, K2, K3 sts off cn
C5R – place next 2 sts on cn and hold to back, K3, K2 sts off cn
C6L – place next 3 sts on cn and hold to front, K3, K3 sts off cn
cn – cable needle
M1L – using left needle, pick up the bar between last st worked and next st to be worked from front to back, knit into the back of the bar (creating a left slanting twist) (1 inc)
P2tog – purl two together (1 dec)
rnd/rnds – round/rounds
sl – slip stitch(es) purlwise with yarn in back
sl2K1p2sso – slip 2 sts together purlwise, K1, pass 2 slipped sts over the K1 (2 dec)
sm – stitch marker
SSK – slip, slip, knit two slipped sts together (1 dec)
st/sts – stitch/stitches

My hubby looks pretty good in the Austin Hat!
The Pattern
Using long tail cast on, MC, and smaller needle, CO 90 (108, 126) sts. Join to work in the rnd. Place sm to note bor and be careful not to twist.
*K1, P1* for 12 rnds.
Next Rnd (MC): K3, *M1L, K6* to last 3 sts, M1L, K3 – 105 (126, 147) sts
Next Rnd (MC): *K3, P4* around
Switch to larger 16” circular needle. Join CC.
Rnd 2 (CC) : *sl3, P4* around
Rnd 3 (MC) : Knit
Rnd 4 (MC) : *C3L, P4* around
Work last 4 rnds a total of 3 times.
Work rnds 1 and 2 once more.
Rnd 15 (MC): *C5L, C5R, K11* around
Rnd 16 (MC): P2, *K6, P6, C3L, P6* to last 19 sts, K6, P6, C3L, P4
Rnd 17 (CC): K2, *sl6, K6, sl3, K6* to last 19 sts, sl6, K6, sl3, K4
Rnd 18 (CC): P2, *sl6, P6, sl3, P6* to last 19 sts, sl6, P6, sl3, P4
Rnd 19 (MC): Knit
Rnd 20 (MC): P2, *C6L, P6, C3L, P6* to last 19 sts, C6L, P6, C3L, P4
Rnd 21 (CC): K2, *sl6, K6, sl3, K6* to last 19 sts, sl6, K6, sl3, K4
Rnd 22 (CC): P2, *sl6, P6, sl3, P6* to last 19 sts, sl6, P6, sl3, P4
Rnd 23 (MC): Knit
Repeat rnds 16–22 once more.
Rnd 31 (MC): *C5R, C5L, K11* around
Rnd 32 (MC): (*K3, P4* twice, C3L, P4) around
Work rnds 1–4 another 7 (9, 11) times. (If you want your hat to be more slouchy, you can continue repeating rnds 1–4 until your hat is 2 in/5 cm short of desired length.)
Work rnds 1 and 2 once more.
Crown Decreasing
Next Rnd (MC): Knit
Next Rnd (MC): *C3L, P2, P2tog* around – 90 (108, 126) sts
Next Rnd (CC): *sl3, K3* around
Next Rnd (CC): *sl3, P3* around
Next Rnd (MC): Knit
Next Rnd (MC): *C3L, P1, P2tog* around – 75 (90, 105) sts
Next Rnd (CC): *sl3, K2* around
Next Rnd (CC): *sl3, P2* around
Next Rnd (MC): Knit
Next Rnd (MC): *C3L, P2tog* around – 60 (72, 84) sts
Next Rnd (CC): *sl3, K1* around
Next Rnd (CC): *sl3, P1* around
(You can cut the CC yarn at this point. Leave a tail to weave in later.)
Next Rnd (MC): Knit
Next Rnd (MC): *C3L, P1* around
Next Rnd (MC): *K1, SSK, K1* to last st, K1 – 45 (54, 63) sts
Next Rnd (MC): *sl2K1p2sso* around – 15 (18, 21) sts
Cut MC yarn leaving a tail. Weave tail through remaining live sts several times and cinch tight. Weave in your ends. If necessary, block lightly.
Leave a comment below and let me know what colors you chose for your Austin Hat! And remember: don’t forget to tag me @knitsyknits and #explorewithknitsy

Two hats. Two skeins of yarn. Two totally different looks!
Want it without ads?
Purchase the Austin Hat pattern ad free. A pdf will be automatically emailed to you once you complete your purchase.


More to explore


COPYRIGHT NOTICE
All patterns, text, and photos are owned by Krista Ann (aka KnitsyKnits, aka Explore with Knitsy). Any content from this website may not be copied for the purpose of redistribution for online or in print without written authorization from Krista Ann. If you would like to share a pattern or written content, please provide recipient with a link to the website. You may sell your finished products made using KnitsyKnits patterns, but please provide a direct link to the pattern in your listing. For any other use, please contact me directly. Thank you for supporting artists by using my content correctly so I can keep sharing free patterns with everyone!
PDF download of the Arctic Circle Hat pattern. This single pattern is ad free.
You’ll receive an email with a link to an immediately downloadable PDF so you can start knitting right away! Do you want step by step tutorials to make this hat? Click here and check out this cowl in The Knitting Rockstar Academy and upgrade your knitting skills!
[Please note that this is only the pattern for our Arctic Circle Hat, not a finished hat.]