My Bloody Valentine Hat Pattern (free pattern)
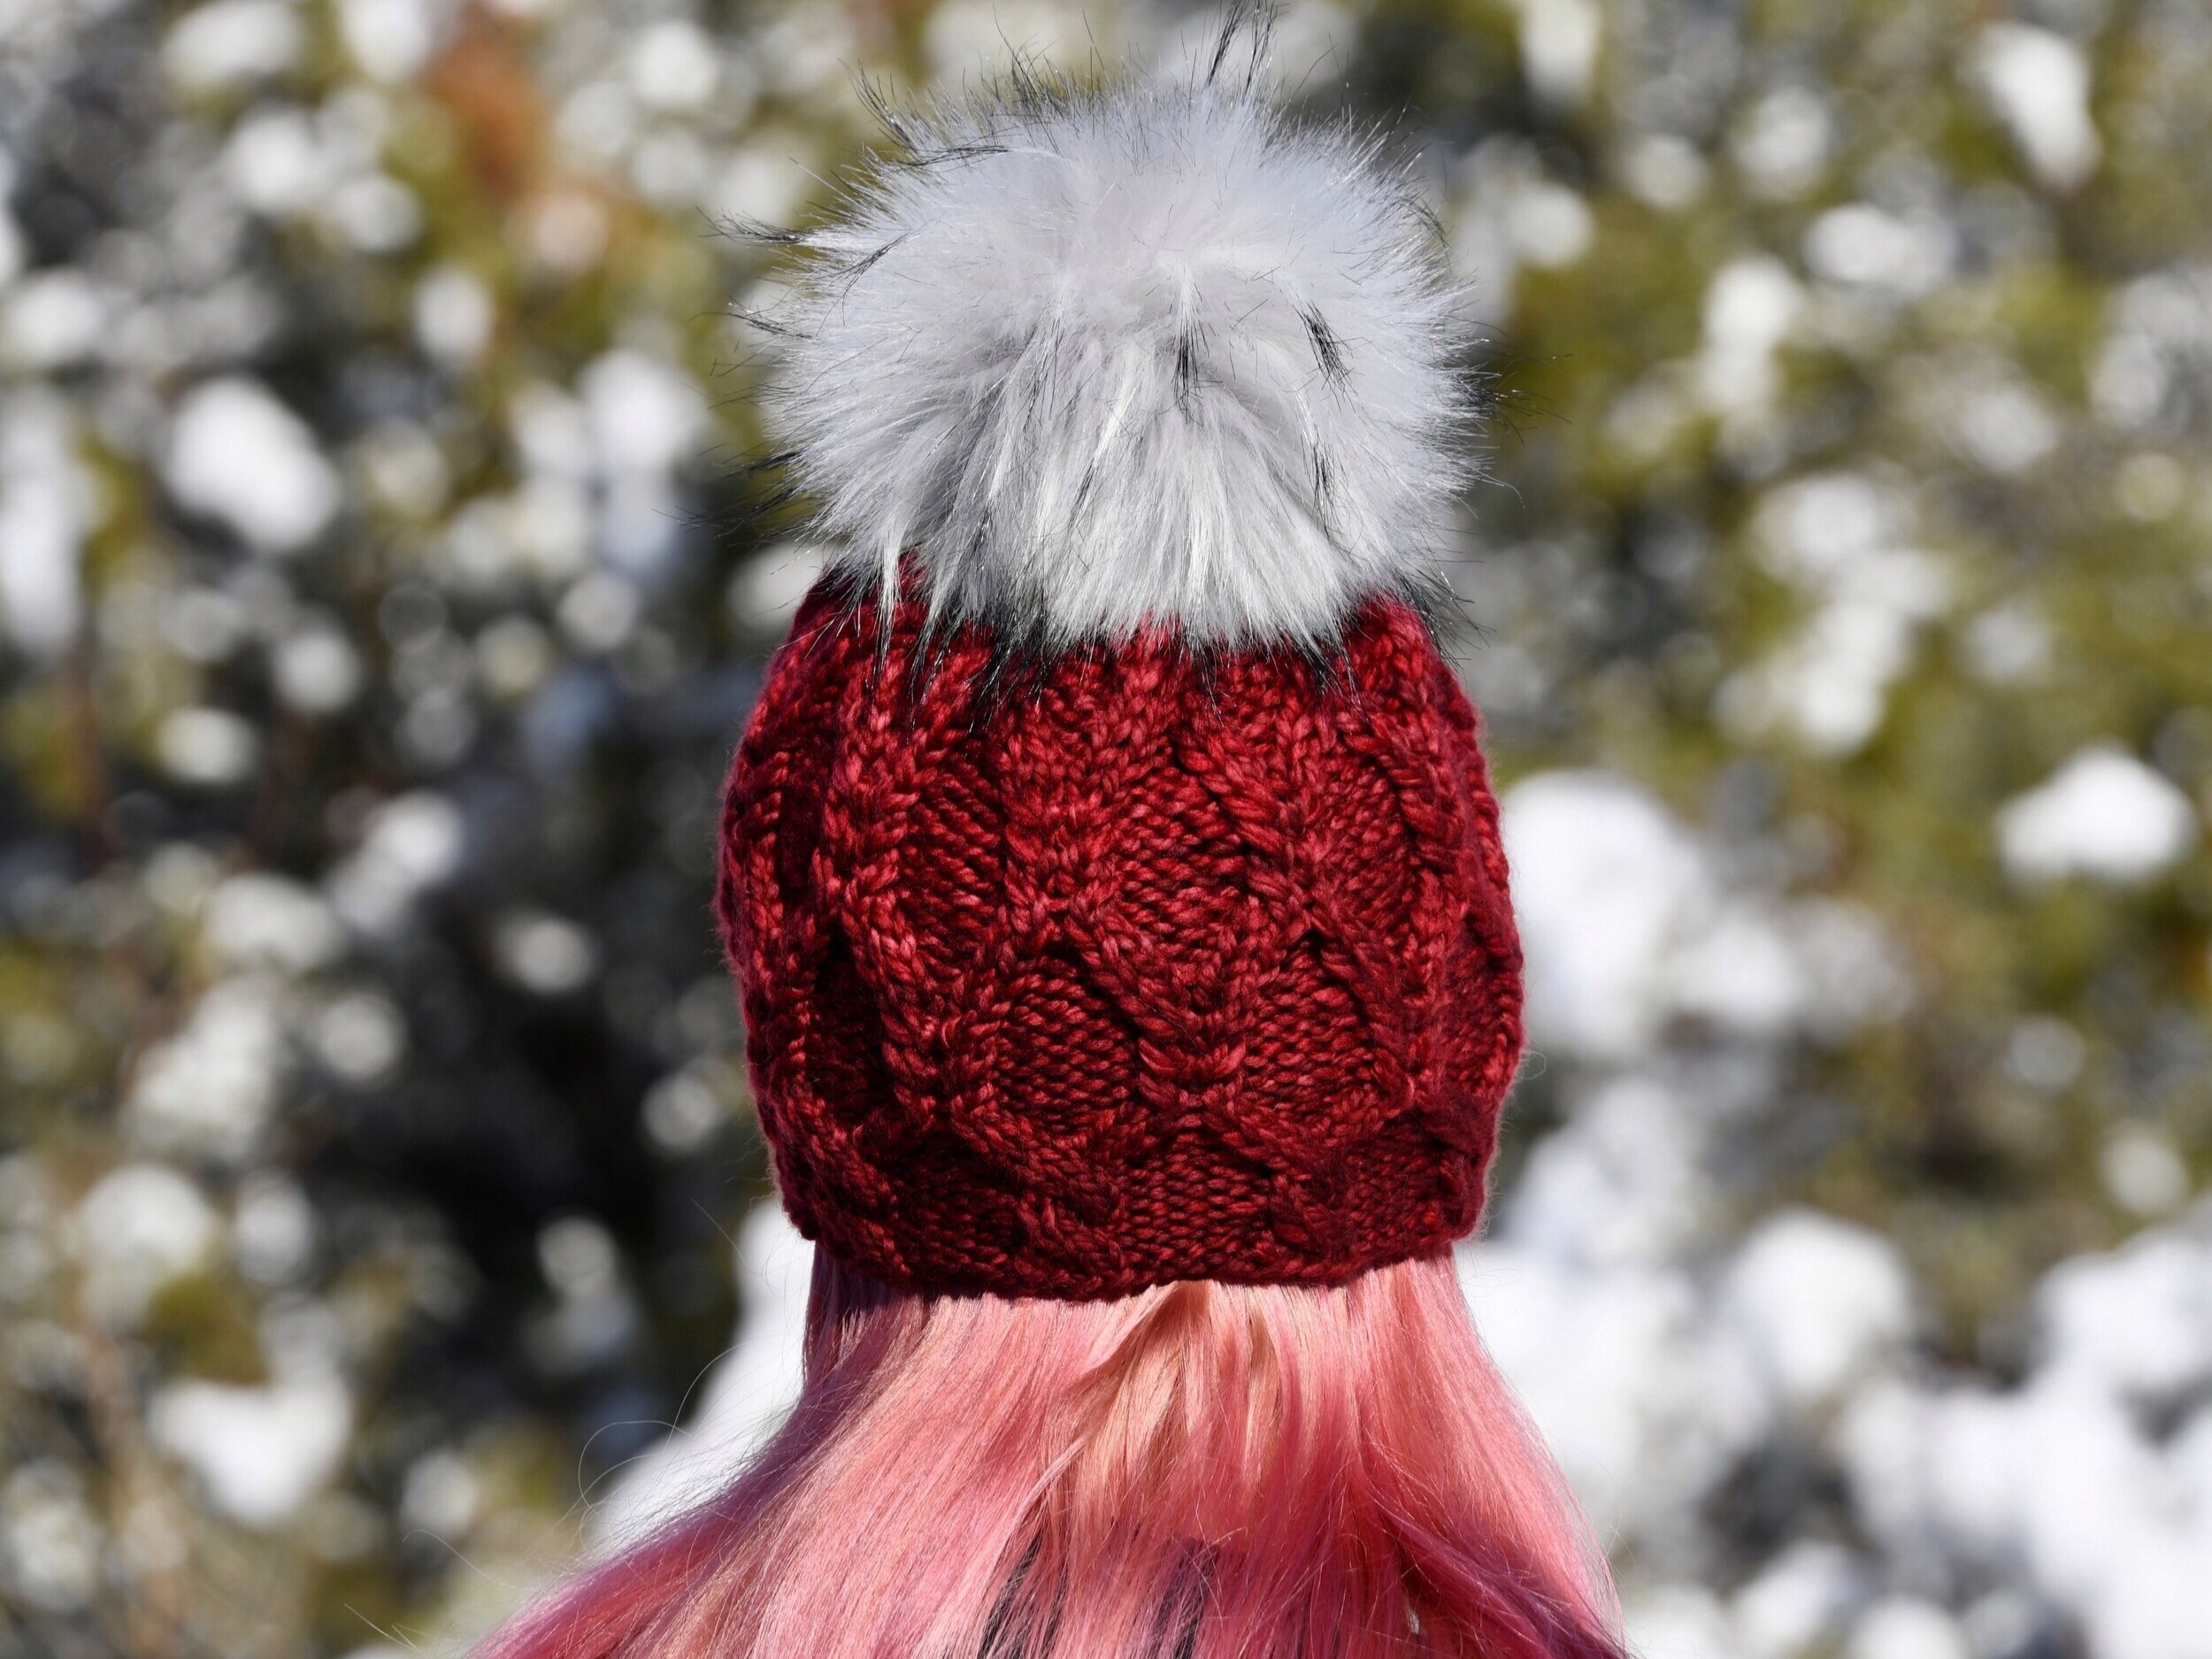
Madelinetosh “Home” in colorway Tart. One of my most favorite reds out there!
DISCLOSURE
This page may contain affiliate links. Working with affiliates helps me cover the costs of running a website and providing free content for all you awesome people. If you make a purchase on my website, it is possible that a small percentage of the sale will go directly to me (at no additional cost to you). All opinions remain my own.
Delicious Knit Cabled hat that knits up in a breeze
Sometimes yarn talks to me and tells me what it wants to be. I had one skein of this delicious red colorway and it was screaming to be a hat with cables, so that is what it became!
january 29, 2021

It isn’t all that uncommon for me to put a skein of yarn on the stand that sits under the TV so that I can stare at it while I’m working on other projects. I had this one delicious skein of Madelinetosh “Home” in one of my favorite reds and I knew it needed to be something amazing.
I have been on a bit of hat and cable binge lately and after doing a quick swatch to see how cables looked in this darker colorway, I knew that this hat needed to be covered in cables.
Unfortunately, I struggle with bouts of insomnia from time to time. I think about work too much and I make lists in my head that I know I’ll never remember in the morning. Oddly enough, designing in my head actually helps me fall asleep. Before going to bed, I was flipping through a stitch pattern book to see if any cables caught my eye. A pattern that was a 4 by 4 cable (a cable worked over a total of 8 sts) looked interesting, but I knew an 8 stitch cable was going to be too much for this bulky yarn.
As I laid in bed thinking about this cable, I decided to make it half the size to account for the bulkiness of the yarn. The next day, I played around with the stitch pattern and worked through the math to see if the numbers fit. This is the 7th or 8th hat I have made out of Madelinetosh “Home” and so I knew that 72 was a magic number for a well sized hat. Lucky for me, this 8 stitch repeat (which was originally a 16 stitch repeat in the pattern book) worked perfectly into my cast on number.

So, I cast on my 72 stitches and went to work. The first try through, I did a regular 2 x 2 ribbing for the brim and I didn’t like how it melted into the cables. I had a brainiac moment where I realized I didn’t need to do a ribbed hem because the 4 x 4 nature of the cable and purl stitches would be just fine to keep the brim from rolling.
Off to the races I went whipping this hat up and getting the pattern written down as I stitched. Once I finished it, I knew it needed a pom pom. To be fair, all of my hats these days need a fluffy faux fur pom to top them off! I tried a black pom, but this one natural fur looking ball of fluff just screamed at me and once I put it on, I knew it was the right choice!
I hope you have as much fun knitting the My Bloody Valentine hat pattern as much as I enjoyed designing it! Be sure and tag @knitsyknits and #explorewithknitsy to show off your work in progress or your finished hat. I can’t wait to see what color you make yours!
And if you have never done cables before, try the Fairbanks hat pattern for a simpler cabled hat (but still tons of fun)!

MY BLOODY VALENTINE Hat Pattern
inspired by good charlotte
How many cables are too many cables?! Is there even such a thing as too many cables? I’m a hat that just loves cables so much, I put them all over myself. I keep things interesting by allowing my cables to bob and weave all over the place. I really pop in just about any colorway because my cables are everywhere!
MATERIALS
Yarn
Madelinetosh “Home”
110 yards/100 meters; Bulky
100% Superwash Merino Wool
1 skein
Colorway: Tart
Instagram: @madelinetosh
Needles
US 9/5.5 mm 16” circular needle
US 10/6.0 mm 16” circular needle
US 10/6.0 mm DPNs, second circular, OR 40” circular needle for magic loop
(I love to use these metal Knit Picks needles or these wood Knit Picks needles.)
Notions
Cable Needle
6 inch Pom Pom (I buy mine from FFFabuknits, Thread Head Knits, or I Dream of Yarn)
Stitch Marker
Scissors
Tapestry Needle
Gauge
15 sts and 20 rows = 4 in/10 cm in stockinette stitch on larger needle.
Finished Measurements
To fit head circumference: 22 in / 56 cm
Notes
Pattern is a multiple of 8. You can make your hat larger or smaller by adding or subtracting multiples of 8. If you make your hat larger, you will need more yarn.
When you get to the decrease section and the stitches begin to become tight around your needle, switch to your preferred method of working in the round – DPNs, two circular needles, or magic loop.
Abbreviations
*. . .* - repeat between asterisks
bor – beginning of rnd
C2L – place next st on cn and hold to front, K1, K1 off cn
C2R – place next st on cn and hold to back, K1, K1 off cn
C3R – place next st on cn and hold to front, K2, K1 off cn
C3LP – place next 2 sts on cn and hold to front, P1, K2 off cn
C3RP – place next st on cn and hold to back, K2, P1 off cn
C4L – place next 2 sts on cn and hold to front, K2, K2 sts off cn
C4R – place next 2 sts on cn and hold to back, K2, K2 sts off cn
cn – cable needle
K2tog – knit two together (1 dec)
P2tog – purl two together (1 dec)
rnd/rnds – round/rounds
sl – slip stitch(es) purlwise with yarn in back
sl2K1p2sso – slip 2 sts together purlwise, K1, pass 2 slipped sts over the K1 (2 dec)
sm – stitch marker
SSK – slip, slip, knit two slipped sts together (1 dec)
st/sts – stitch/stitches

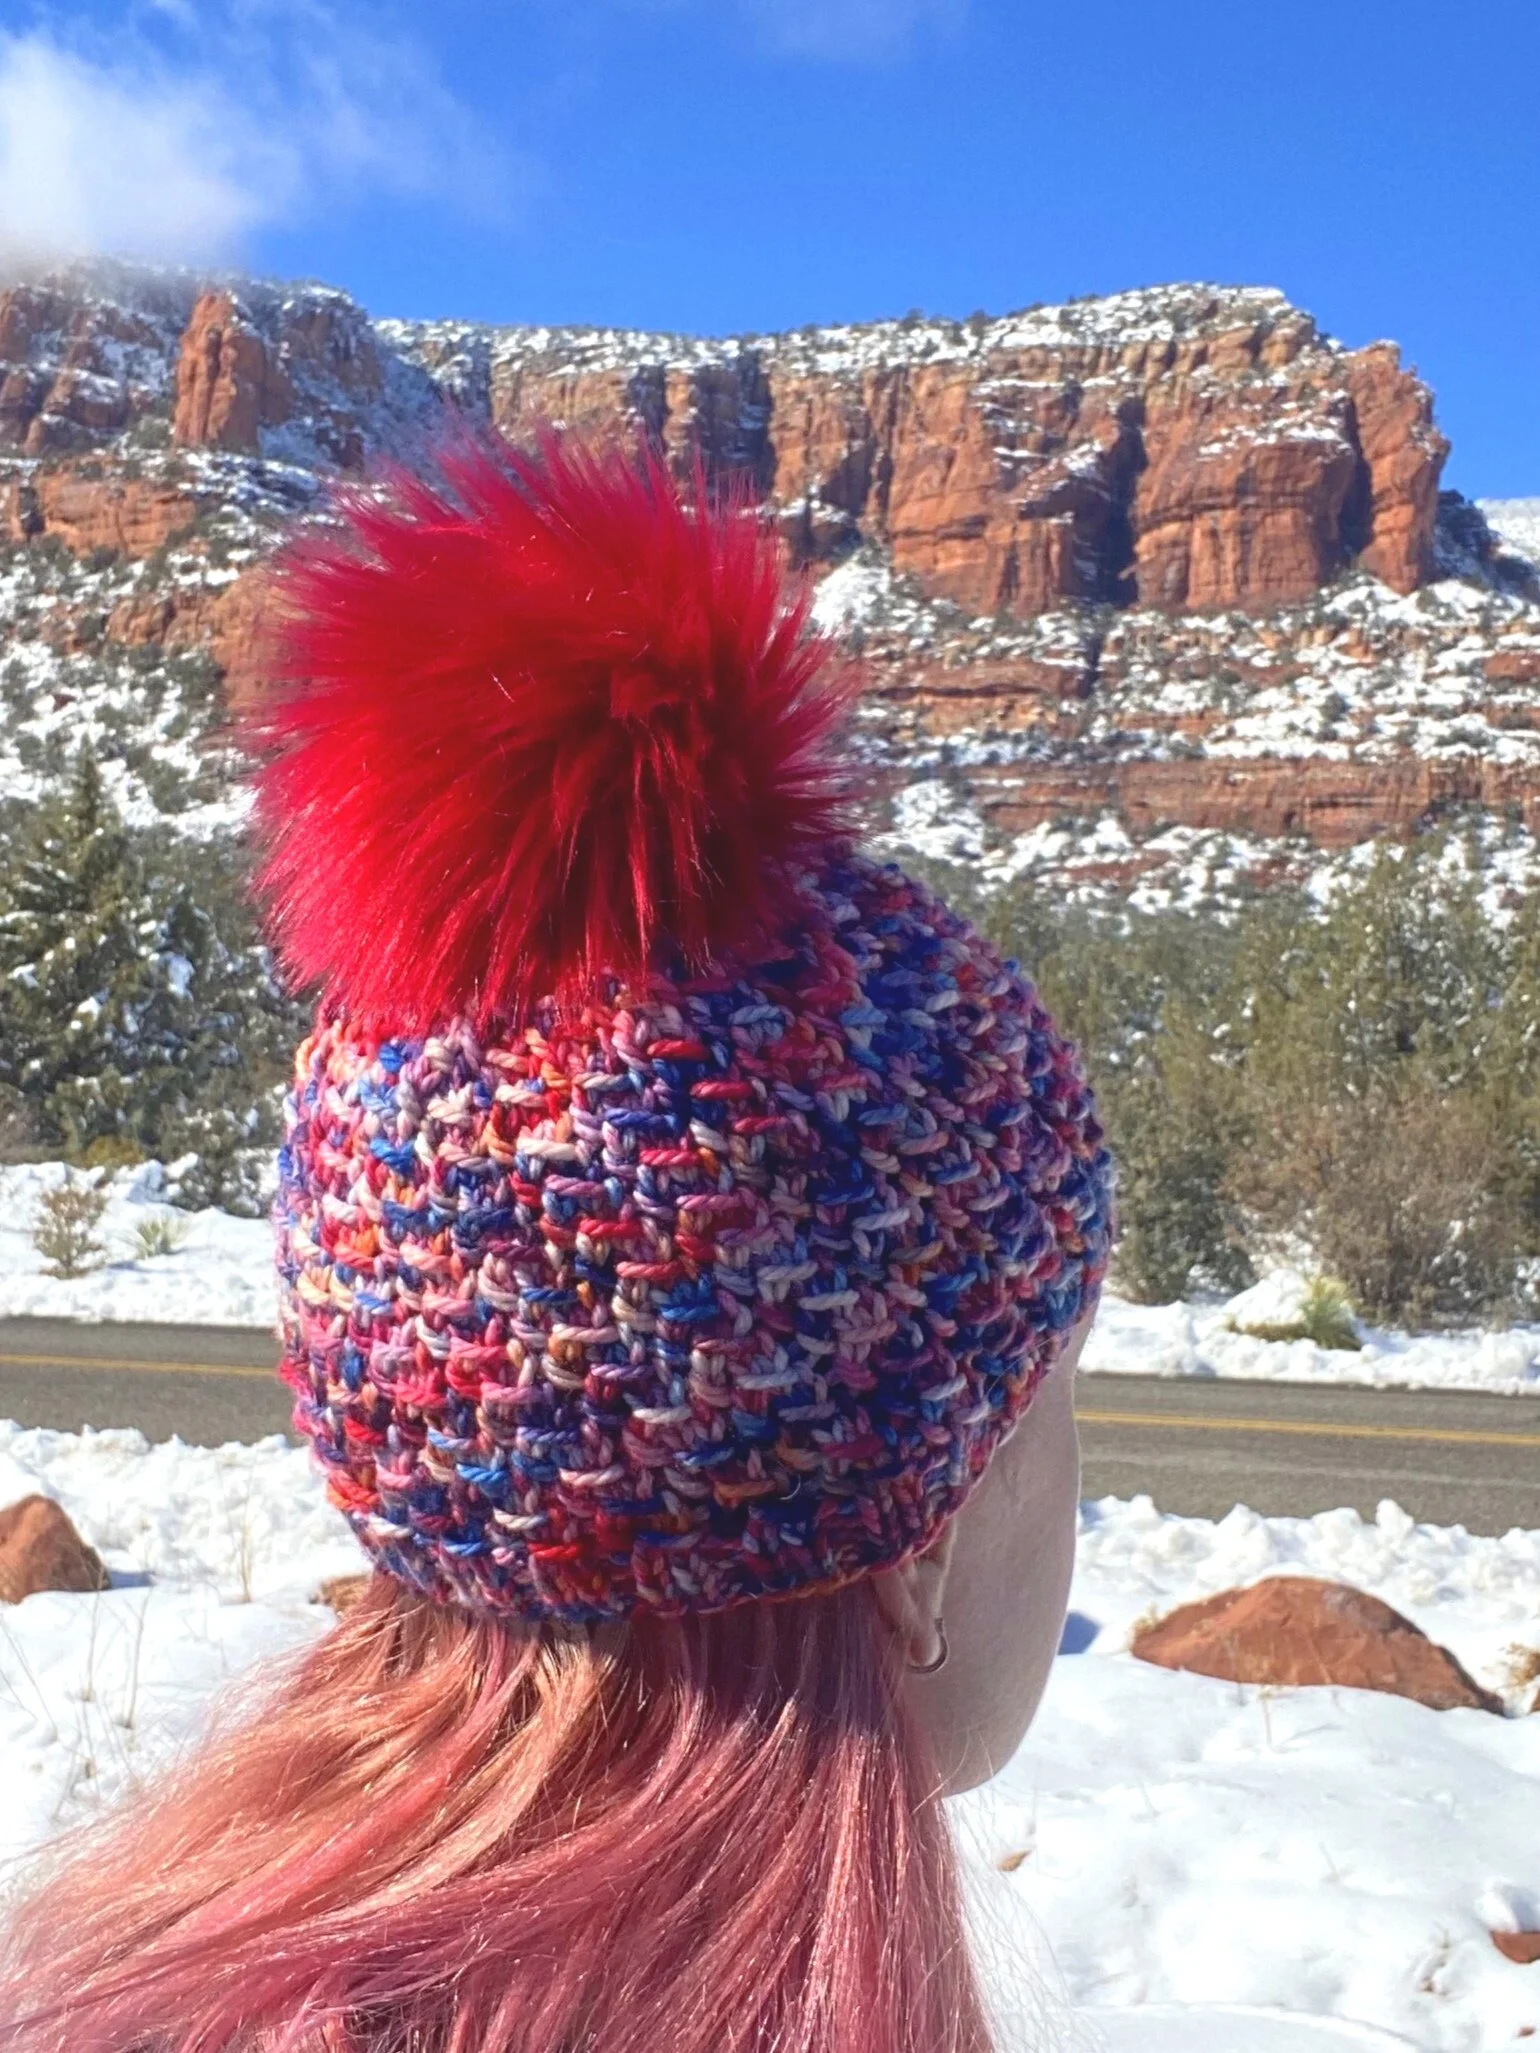
Staying warm while hanging out the window to photograph the snow!
The Pattern
Using smaller needle and long tail cast on, CO 80 sts. Join to work in the rnd. Place sm to note bor and be careful not to twist.
Rnds 1 – 3: *K4, P4* around
Rnd 4: *C4L, P4* around
Rnds 5 – 7: *K4, P4* around
Rnd 8: *C4L, P4* around
Rnd 9: *K4, P4* around
Rnd 10: K2, * C3LP, P2, C3RP* to last 6 sts, C3LP, P2, place next st on cn and hold to back, remove sm, K2, replace sm to right needle, P1 off cn
Rnd 11: P1, *K2, P2* to last 2 sts, K2
Rnd 12: *P2, C3LP, C3RP* around, remove sm, sl last P st worked to left needle, replace sm to right needle, sl already worked P st back to right needle, (this is your new bor and first st of next rnd is already worked)
Rnd 13: P3, *K4, P4* to last 4 sts, K4
Change to larger needle.
Rnd 15 : *P4, K4* around
Work last 2 rnds a total of 3 times.
Rnd 20: P3, *C3RP, C3LP, P2* to last 5 sts, C3RP, place next 2 sts on cn and hold to front, remove sm, P1, replace sm to right needle, K2 off cn
Rnd 21: *P2, K2* to last 2 sts, P2
Rnd 22: *C3LP, C3RP, P2* around
Rnd 23: P1, *K4, P4* to last 7 sts, K4, P3
Rnd 25 : P1, *K4, P4* to last 7 sts, K4, P3
Work last 2 rnds a total of 3 times.
Rnd 30: *C3RP, C3LP, P2* around
Rnd 31: *K2, P2* to last 4 sts, K2, P1, place last st on cn and hold to back, remove sm, K2, replace sm to right needle, P1 off cn
Rnd 32: *P2, C3LP, C3RP* to last 7 sts, P2, C3LP, K2
Rnd 33: *P4, K4* around

This hat rocks!
Crown Decreasing
Rnd 34: *P1, P2tog, P1, C4R* around – 70 sts
Rnd 35: *P3, K4* around
Rnd 36: *P2tog, P1, K4* around – 60 sts
Rnd 37: *P2, K4* around
Rnd 38: *P2tog, C4R* around – 50 sts
Rnd 39: *P1, K4* around
Rnd 40: *P1, K2tog, K2* around – 40 sts
Rnd 41: *P1, K3* around
Rnd 42: *P1, C3R* around
Rnd 43: *sl2K1p2sso, K1* around – 20 sts
Rnd 44: *SSK* around – 10 sts
Cut yarn leaving a tail. Weave tail through remaining live sts several times and cinch tight. Weave in your ends. If necessary, block lightly. Attach pom pom to top.
Pop me on when the night turns cold and you’ll be cable-tastic!
Leave a comment below and let me know how much fun those cables were! And remember: don’t forget to tag me @knitsyknits and #explorewithknitsy


Want it without ads?
Purchase the My Bloody Valentine Hat pattern ad free. A pdf will be automatically emailed to you once you complete your purchase.


More to explore


COPYRIGHT NOTICE
All patterns, text, and photos are owned by Krista Ann (aka KnitsyKnits, aka Explore with Knitsy). Any content from this website may not be copied for the purpose of redistribution for online or in print without written authorization from Krista Ann. If you would like to share a pattern or written content, please provide recipient with a link to the website. You may sell your finished products made using KnitsyKnits patterns, but please provide a direct link to the pattern in your listing. For any other use, please contact me directly. Thank you for supporting artists by using my content correctly so I can keep sharing free patterns with everyone!
PDF download of the Arctic Circle Hat pattern. This single pattern is ad free.
You’ll receive an email with a link to an immediately downloadable PDF so you can start knitting right away! Do you want step by step tutorials to make this hat? Click here and check out this cowl in The Knitting Rockstar Academy and upgrade your knitting skills!
[Please note that this is only the pattern for our Arctic Circle Hat, not a finished hat.]